Tips for Making Natural Homemade Cosmetic Products

Homemade cosmetics are a popular project among DIY enthusiasts. The trend toward natural beauty products has grown in popularity as people seek to avoid harsh chemicals and control what they put on their skin. Creating your own cosmetics ensures that you know every ingredient that goes into your products and provides a sense of accomplishment. Follow these tips for making homemade cosmetics to help you get started on your DIY beauty journey.
Put Together Your List of Ingredients
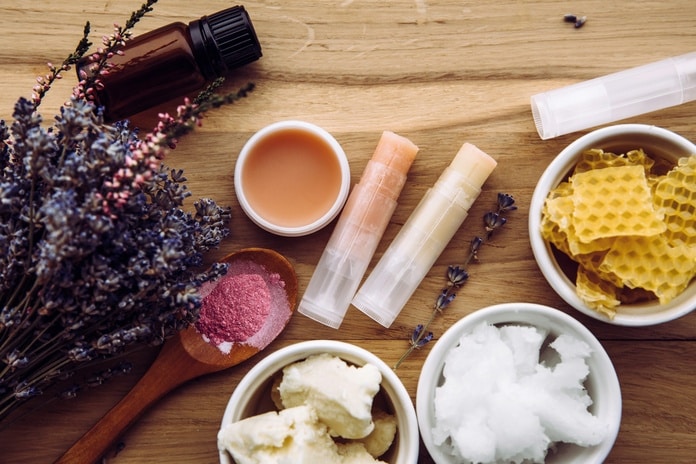
The first step in making your own cosmetics is to gather your ingredients. Choose natural, organic ingredients whenever possible. Common cosmetic items include essential oils, beeswax, shea butter, and various carrier oils like almond or coconut oil. For example, shea butter is excellent for moisturizing, while tea tree oil can help with acne. Source these ingredients from reputable suppliers to ensure their quality.
Knowing the properties of each ingredient is essential. Keep a list of your favorite recipes and the ingredients they require so you can restock them easily. You should also know which cosmetic ingredients you should avoid, such as ones that can cause irritation or damage the skin.
Use Clean, Dry, Sanitized Tools
Cleanliness is crucial when making cosmetics at home, which is why you should use sanitized tools and surfaces to prevent contamination. Before starting, wash your hands thoroughly and wipe down all work surfaces with a mild disinfectant. Use glass or stainless-steel bowls and utensils, as plastic can harbor bacteria and other contaminants.
Dry your tools completely before use. Moisture can introduce bacteria into your products. Always use a dedicated set of tools for your cosmetic-making projects to avoid cross-contamination with food or other substances.
Choose the Correct Packaging Products
The right packaging is essential to maintain your homemade cosmetics’ integrity. Glass jars and bottles are ideal because they don’t react with the ingredients and are easy to sanitize. Dark-colored glasses are some of the best types of packaging for health and beauty products because they protect them from light degradation. Always label your containers with the product name and the date you made it.
Avoid using metal containers for products that contain essential oils, as they can corrode the metal. Finally, when using plastic containers, ensure they are high-quality and BPA-free.
Store Your Homemade Products Properly
Proper storage promotes a long shelf life for your homemade cosmetics. Store your products in a cool, dark place away from direct sunlight and heat. Additionally, refrigeration can extend the shelf life of certain items, such as creams and lotions.
Keep track of expiration dates by noting them on your labels. Homemade cosmetics typically have a shorter shelf life than commercial products due to their lack of preservatives. Regularly inspect your products and discard any that show signs of spoilage.
Creating your own natural homemade cosmetics is a rewarding experience that allows you to control what you put on your skin. By following these tips, you can make your own high-quality beauty products tailored to your needs. Ready to start crafting? Use these guidelines to begin your DIY beauty adventure.

